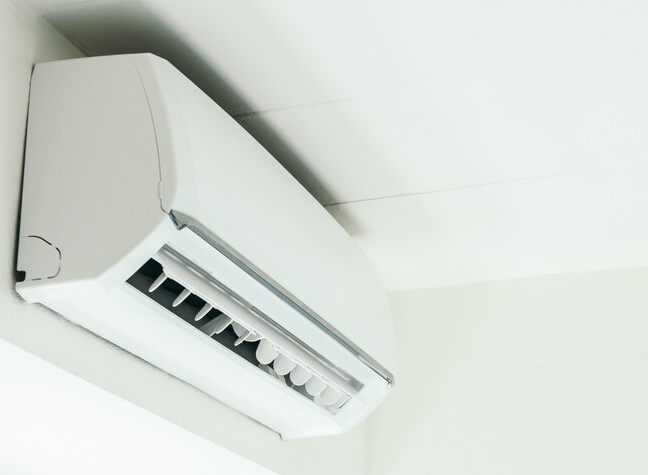
A wall-mounted air conditioner otherwise known as a mini-split AC is an ideal choice for homeowners who are looking for an energy-efficient cooling system that is also very easy to install and maintain.
Compared to central air conditioning systems, wall mounted AC installation does not require any ductwork to cool your rooms. This not only reduces installation costs but also ensures that the entire process is done as swiftly as possible.
The installation of a wall mounted AC doesn’t involve extra complicated steps and tools. You can even do it yourself if you take the time to learn the few key phases of the installation process.
This blog will show you how you can install a wall-mounted AC by yourself. This comprehensive step-by-step guide will help you with a quicker installation while minimizing the risks so keep on reading till the end.
- Essential Tools and Supplies Needed for Installation
- Wall Mounted AC Installation: Complete Guide
- Step 1: Select An Indoor Installation Area
- Step 2: Mounting Plate Installation
- Step 3: Drill an Outlet Hole
- Step 4: Make Indoor Electrical Connections
- Step 5: Connect Cables and Pipes to the Indoor Unit
- Step 6: Indoor Unit Installation
- Step 7: Select the Right Spot for the Outdoor Unit
- Step 8: Install the Outdoor Unit on the External Wall or a Concrete Pad
- Step 9: Connect The Piping and Wires
- Step 10: Make Final Adjustments
Essential Tools and Supplies Needed for Installation
Following are some of the main tools that you might need to install a wall-mounted AC properly. Make sure to gather these essential supplies to ensure the installation goes smoothly.
- Screwdrivers/Nut Drivers
- Hacksaw
- Wrenches
- Power Drills
- Taps
- Files
- Gloves
- Goggles
- Masks
- Tape Measure
- Stud Finder
- Level
- A Caulking Gun
- Hammer and Nails
Wall Mounted AC Installation: Complete Guide
Following is the step-by-step guide on how you can install a wall-mounted AC by yourself
Step 1: Select An Indoor Installation Area
First of all, you need to identify the area for indoor unit installation. Pick an unobstructed place using a stud finder from where you can easily drill a hole to connect the pipes that join indoor and outdoor units.
It is better to pick a spot that is away from direct sunlight, other heat sources, potential gas leaks, or oil mist. You can mount the AC at a height of about 2.1 meters or 7 feet.
You also need to ensure there is about 6 to 12 inches of free space on either side of the AC to get the best cooling. It is also better to place the indoor unit at a location that is at least 3.3 feet away from power connecting lines or antennas in your house.
Step 2: Mounting Plate Installation
Now you can start the mounting plate installation process. To do this, simply hold the mounting plate on the wall and with the help of the level ensure it is both horizontally and vertically straight.
Then you can use a pencil to mark the spots where you will later drill holes. After making the holes with a drill, you can position the plate on the wall and insert the plastic anchors. Then you can insert tapping screws to fix the plate on the wall firmly.
Step 3: Drill an Outlet Hole
Now you need to pick a spot for drilling an outlet hole. Make sure there are no pipes or electrical wires inside before drilling a hole. Then you can use a keyhole saw or a drill to create a hole of about 7-8cm in diameter.
When making this hole, it is recommended that you keep its slope slightly downward. This can facilitate better drainage from the pipes.
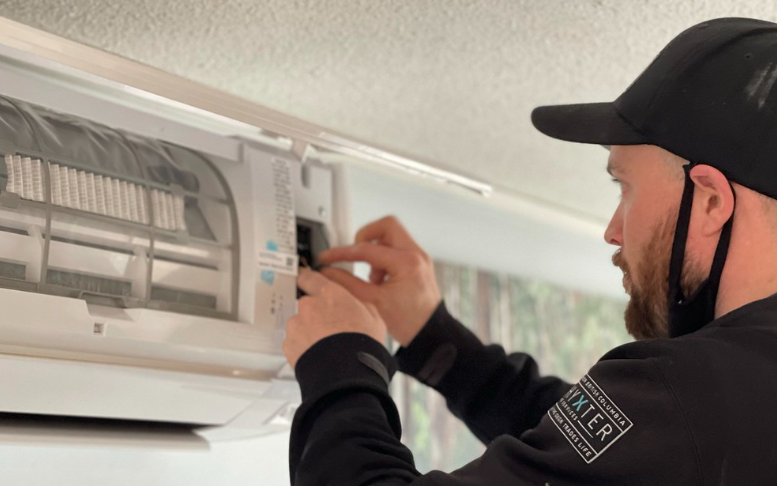
Step 4: Make Indoor Electrical Connections
In this step, you need to lift the front panel of the AC unit to remove its cover. Inside you will see the wires which should be connected to the screw terminals. Make sure that the wiring is completely secure and that it matches the diagram that you see in the AC maintenance manual.
Step 5: Connect Cables and Pipes to the Indoor Unit
Run the copper pipe, power cable, and drain pipe from the hole you just made with the power saw and secure these three together with electrical tape. Keep the drainage pipe at the bottom to ensure better water flow.
Secure the pipe and wires to the spots as instructed in the AC maintenance plans or manual.
When running the pipes or making connections, make sure these do not bend as it can lead to lower efficiency or other technical issues.
Step 6: Indoor Unit Installation
Now you can lift the indoor unit up and fix it on the wall by aligning the connections on the front of the plates with the back of the indoor unit. Make sure the unit is tilted backward about 2 to 3 degrees to facilitate better outflow of the water from the drain pipe.
It is better to ask a family member or a friend for help in this step to ensure the safety of yourself and the AC unit.
Step 7: Select the Right Spot for the Outdoor Unit
When done with the indoor unit, you can start the installation of the outdoor unit at once. Pick a spot that is away from direct sunlight, dust, or heavy traffic. Look at the hole you previously drilled from the outside and then place the outdoor unit within a 50-foot distance. Make sure there is about 12 inches of empty perimeter around the outdoor unit to ensure better functioning.
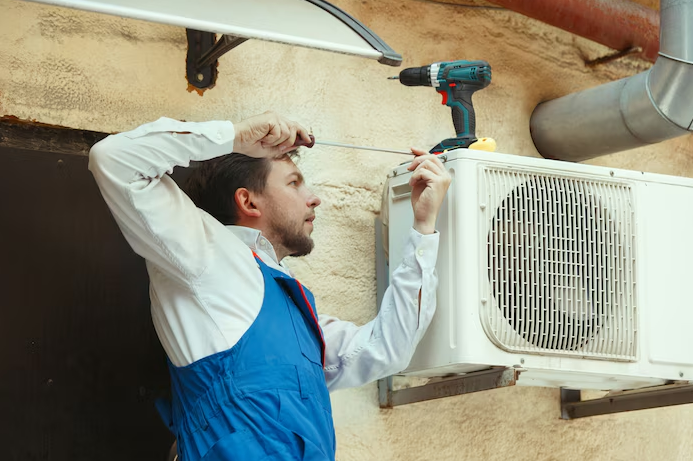
Step 8: Install the Outdoor Unit on the External Wall or a Concrete Pad
You can either place the outdoor unit on a concrete pad on the floor or you can put it on an external wall using brackets. When hanging it on the external wall, use a level to make sure the brackets are screwed straight.
If you go with concrete pads then ensure the one you make is even from the surface. You can also find concrete pads in home improvement stores.
Then you can place rubber cushions on the concrete pad that minimize the vibrations. After that, you can place the unit on the rubber cushions and secure it with anchor bolts.
Step 9: Connect The Piping and Wires
Now you need to remove the condenser cover by taking the screws out with a screwdriver. Then refer to the diagram on the manual to make sure all the wires are there and the connections are secure.
Now with the help of flare nuts connect the copper wires coming out from the indoor unit to the outdoor unit. Do the same with the power cable. At this point, you can connect the unit to the power supply.
If the copper pipes are in excess and you have limited space you can carefully trim these to ensure better connections.
Step 10: Make Final Adjustments
In this last step, you need to take care of a few things to complete the job.
You need to bleed the air and humidity from the refrigerant circuit. To do this, first, remove the caps from the 2 and 3-way valves as well as from the service port. Now you can connect the vacuum pump hose to the service port with ease.
Turn the vacuum on until the pressure reaches the value of 10 mm Hg. Close the low-pressure knob and then turn off the vacuum. Now you need to test all the valves for leaks, disconnect the vacuum, and finally, place the caps on valves or joints.
Next, you need to affix all the protruding wires or pipes with clamps so that they don’t move unnecessarily. And finally, you need to seal the hole you drilled with expanding polyurethane foam or a caulk gun and wait for it to dry.
Now you can turn your wall-mounted AC ON with the remote and enjoy fresh cool air instantly.
Conclusion
The wall mounted AC installation process is quite simple if you just have the right tools by your side and you know the right way to proceed. By following the steps mentioned above you can install your AC unit in no time without any professional assistance.
However, if you are still not sure how to get it done, it is better to contact a professional AC installation service to be on the safe side. This can not only ensure quicker installation but also the complete safety of your property as well as of the wall-mounted AC unit.You can visit us at GlobalEX to get the best AC installation as well as maintenance service all over the UAE at very reasonable prices.